Setup: Introduction
Welcome to Handheld Contact. This is a basic setup guide to get Handheld Contact up and running.
Before You Begin
Please ensure you have immediate access to:
- The computer, server, or laptop that stores your organization's primary Act! database and ability to install and configure applications.
- The mobile device you would like to use Handheld Contact with.
- The Handheld Contact username (e-mail address) and password.
- An Act! administrator account username and password.
- Internet access on your mobile device (Wi-Fi or carrier) and Act! computer, server, or laptop.
For most users setup takes about 10 minutes.
Setup: Computer
Install and Configure the Handheld Contact Computer Application
-
Access the computer, server, or laptop that hosts your organization's primary Act! database. Throughout the rest of this guide, this machine will be referred to simply as "computer".
This computer is where you will download, install, and configure the Handheld Contact computer application. You do not have to install the Handheld Contact computer application in multiple locations.
- Log in to the computer using a Microsoft Windows user account that has administrative privileges to install software.
-
Download the appropriate Handheld Contact Computer Application to the computer:
Alternatively, you can download our computer application from another machine and transfer it to the Act! over the network, with a USB memory stick, etc.
- Locate the Handheld Contact Computer Application downloaded in the previous step and launch it to begin installation.
-
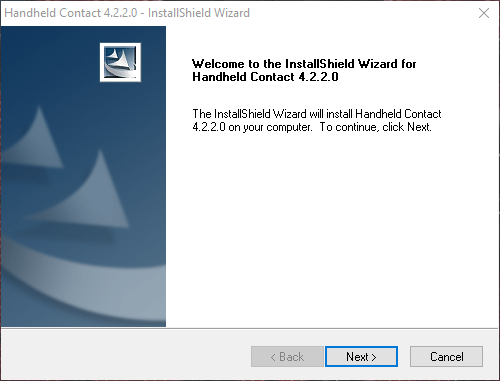
Click the "Next" button on the welcome screen.
-
Click the "Next" button on the choose destination screen to install the Handheld Contact application in the default location specified.
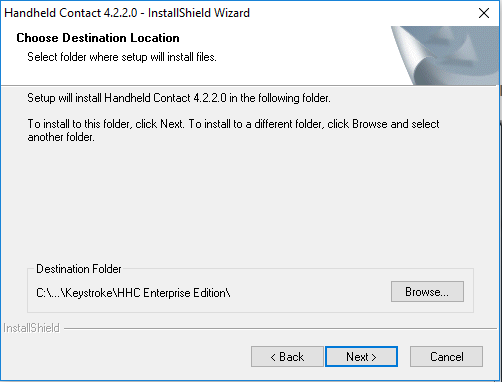
We do not encourage modifying the install destination, however, you can click browse to choose an alternate location on the computer.
-
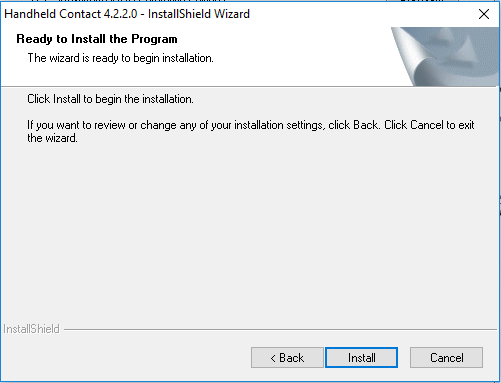
Click the "Install" button on the install complete screen.
-
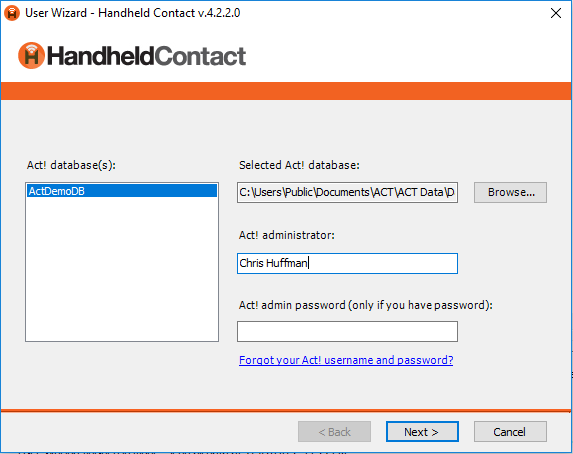
The User Wizard will display next. The first step requires an Act! admin to authorize the connection to Handheld Contact.
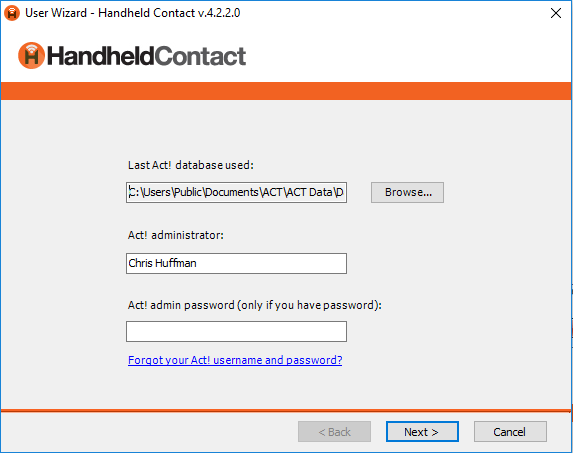
- Click the "Browse" button and ensure your primary Act! database is selected.
- In the "Act! Administrator" field, enter the Act! username of a user with administrative privileges to authorize this link between Handheld Contact and Act!.
Note: This may not be the Act! account of the Handheld Contact end-user you are adding.
- Enter the password (if one is set) for the Act! user with administrative privileges specified in the previous step.
- Click the "Next" button.
-
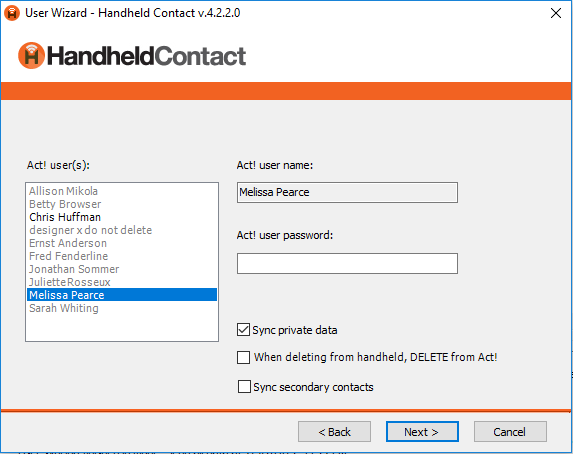
Select the Act! user you want associate with a Handheld Contact account.
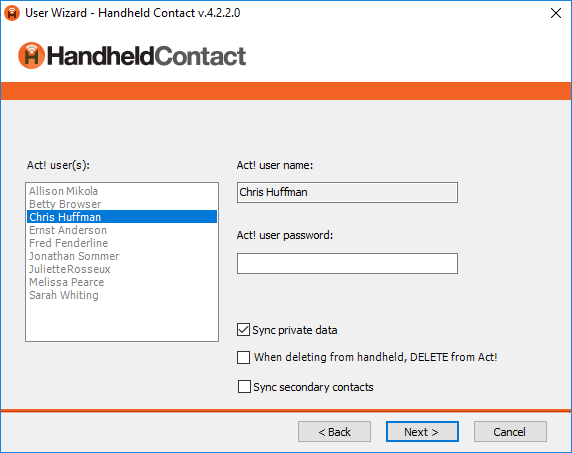
- In the left panel, Click the Act! user who will be using Handheld Contact
- In the Act! User Password field enter the password for the Act! account specified in the previous step.
- Click the "Next" button.
-
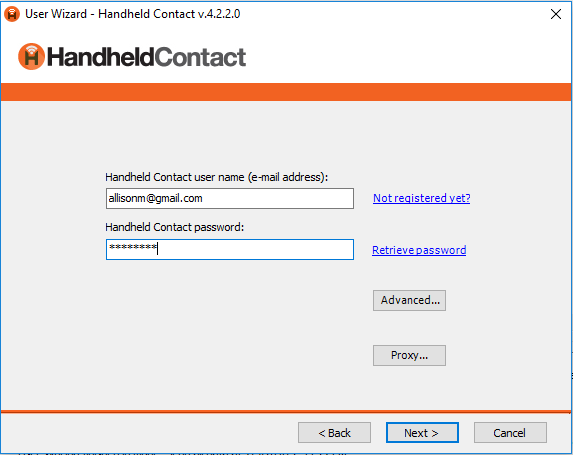
Specifiy the Handheld Contact account that should be associated with the Act! user.
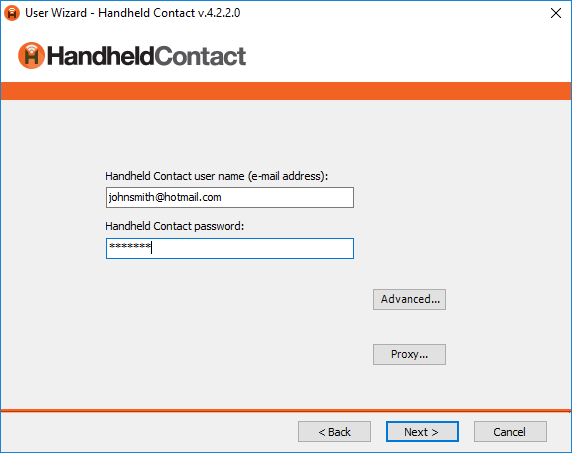
- In the "Handheld Contact user name (e-mail address) field, enter the user's Handheld Contact e-mail address used to create their account.
- In the "Handheld Contact Password" field, enter the Handheld Contact password for the user specified in the previous step.
- Click the "Next" button.
Forgot the password to the Handheld Contact account? You can reset it any time.
-
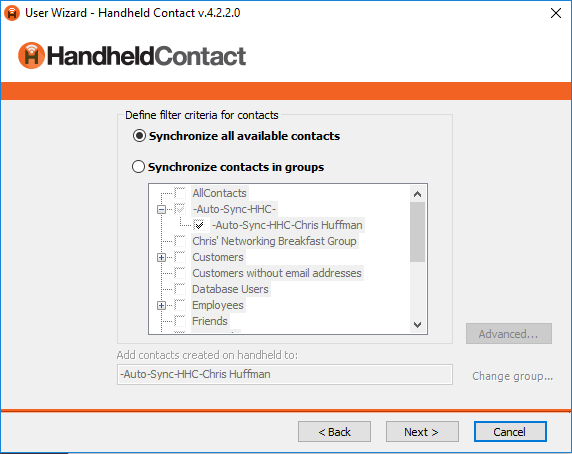
Click the "Next" button to use the default setting and synchronize all available contacts. For better performance on the mobile device, you can select the "Synchronize contacts in groups" option and specify only certain Act! groups to sync contacts from.

-
We recommend following the default "Synchronize Activities" settings for "Scheduled", "Starting", and "Ending" options. Review all Activity Types in the "Types" list and mark the activities your organization uses to enable them in Handheld Contact.
After you have marked your Activity Types, click the "Next" button to continue.
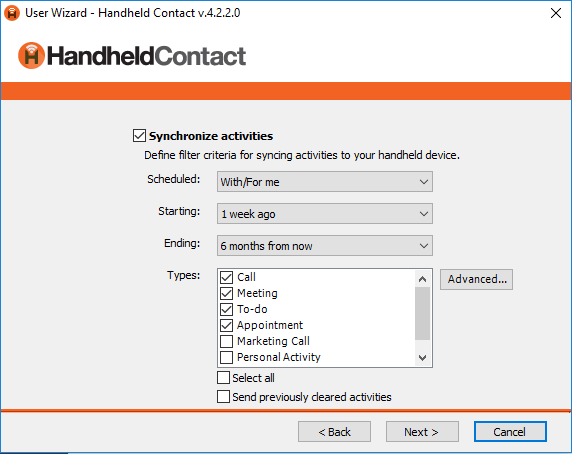
We only recommend customizing these settings to optimize the amount of Act! activities that sync to be a useful amount for the end-user.
-
If you use Act! notes and histories, enable the "Synchronize note/histories" option, optimize the settings for the user if necessary, and click the "Next" button. Otherwise simply leave this disabled and click the "Next" button to continue.
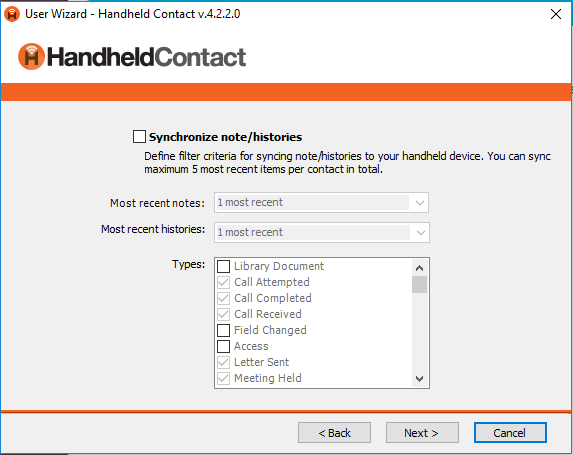
"Most recent" represents the number of combined note and/or history records across all marked types.
-
Click the "Next" button to complete the User Wizard for this user with default field mapping.
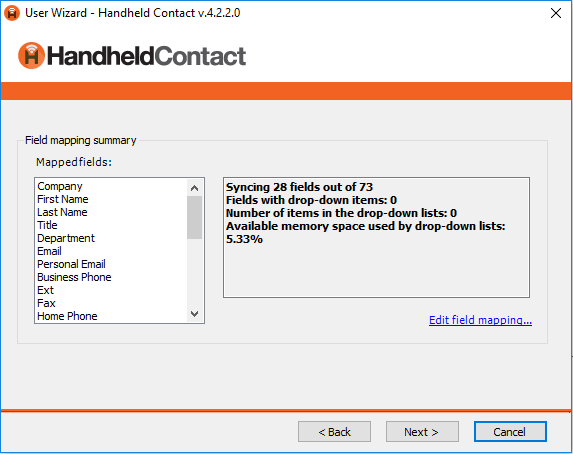
Field mapping requirements are unique for every organization. If you need assistance with this please see our knowledge base or contact support.
-
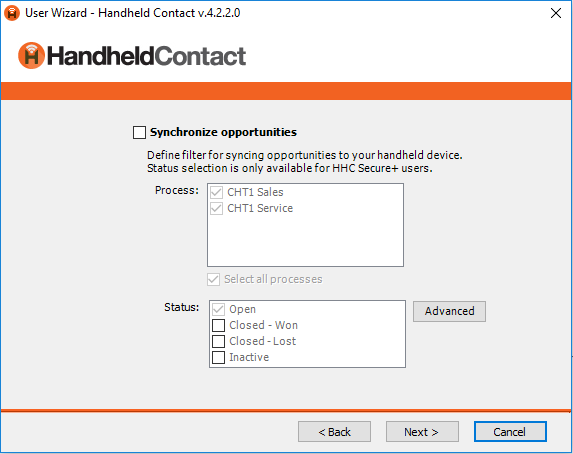
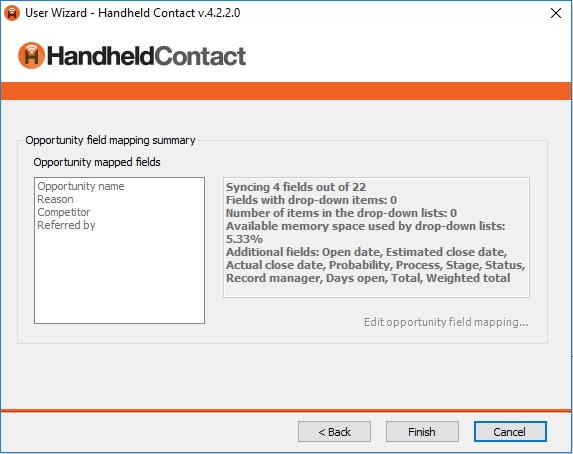
If you use Act! Opportunities, enable the "Synchronize opportunities" option, optimize the settings for the user if necessary, and click the "Next" button. Otherwise simply leave this disabled and click the "Next" button to continue.

-
Click the "Finish" button to complete the User Wizard for this user with default field mapping for Act! opportunities.

Act! Opportunity Field mapping requirements are unique for every organization. If you need assistance with this please see our knowledge base or contact support.
-
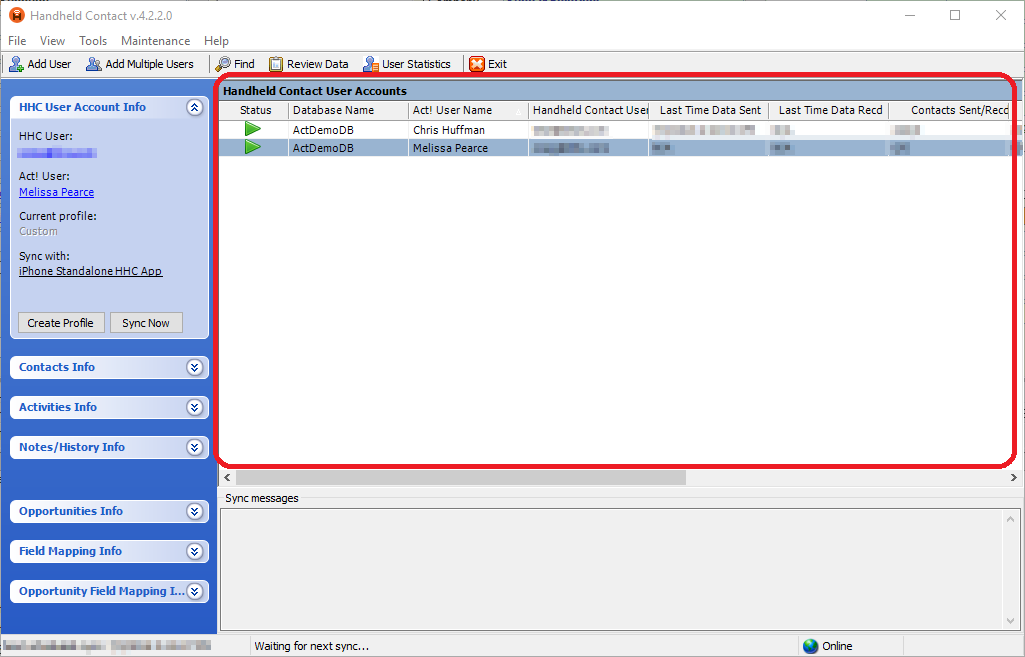
In the Handheld Contact user account list click the user you just added so they are active.
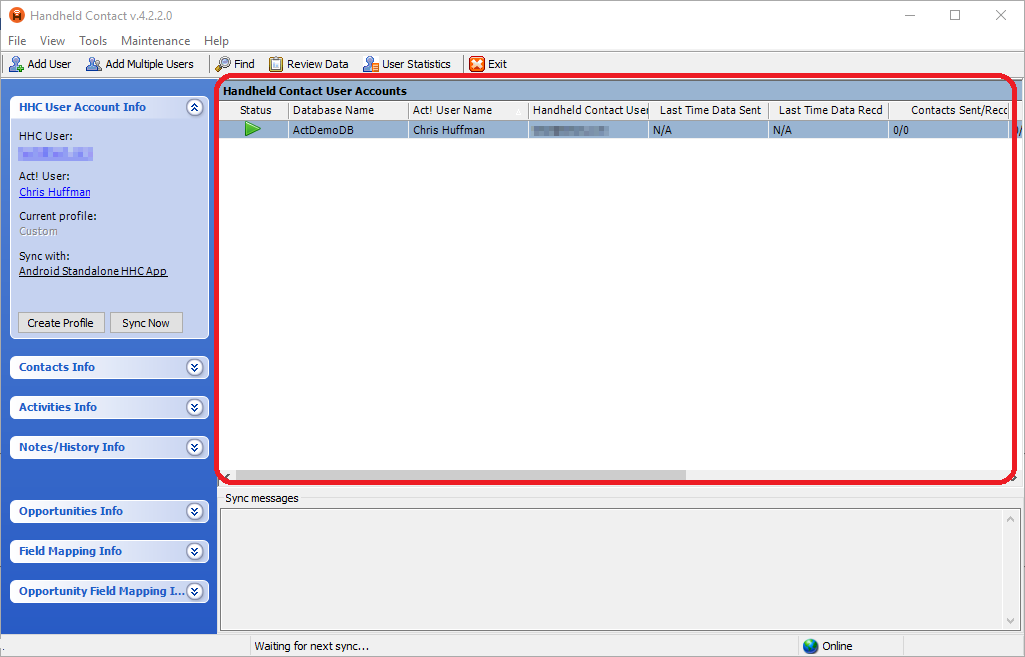
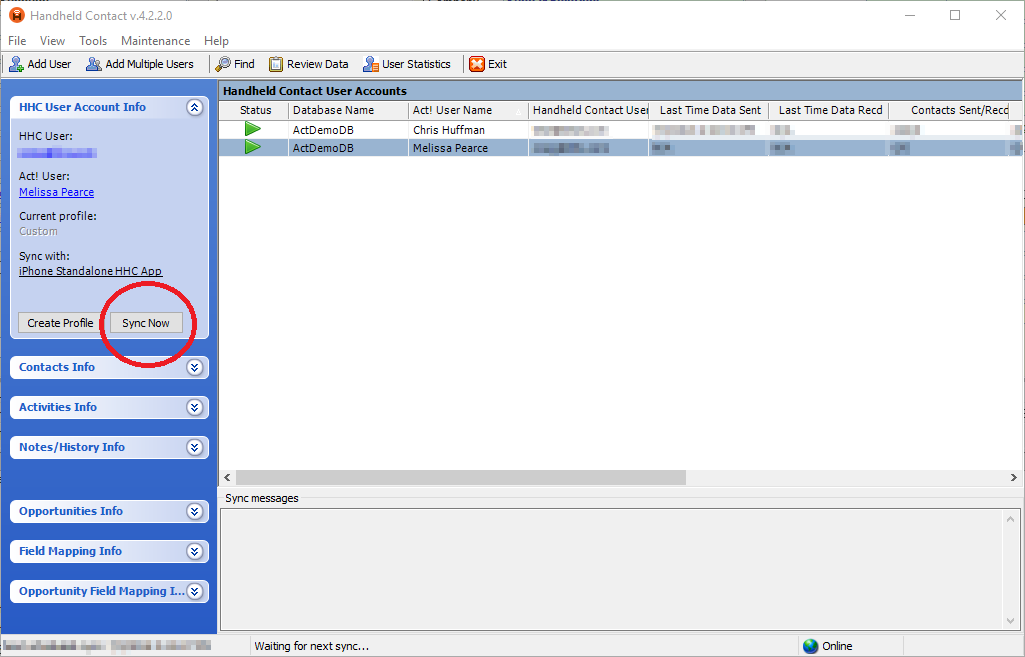
-
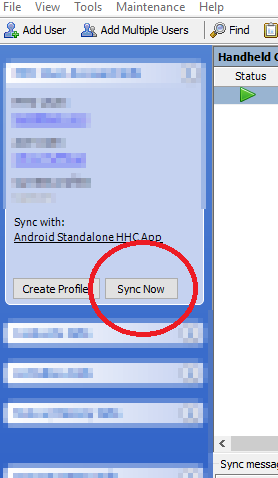
In the Handheld Contact User Account Info panel (left column) click the "Sync Now" button to initiate the first sync.
This initial sync may take a few moments if the configuration you have set for the Handheld Contact user includes a lot of data to sync.
- Setup on the Act! computer is now complete and you are ready to move on to the next section: Installing on the mobile device.
Add A New Handheld Contact user to the Handheld Contact Computer Application
Please note: Each Handheld Contact mobile device requires a unique Handheld Contact account. If you are adding a secondary device for an existing Handheld Contact user please create a new account to use with the device and then follow the instructions below.
-
Access the computer, server, or laptop that hosts your organization's primary Act! database. Throughout the rest of this guide, this machine will be referred to simply as "computer".
This computer is where you will add and configure a new Handheld Contact account for an end-user. You do not have to install the Handheld Contact computer application in multiple locations.
- Open the Handheld Contact Computer Application.
-
In the top menu, click the "Add user" button.

-
The User Wizard will display next. The first step requires an Act! admin to authorize the connection to Handheld Contact.
- Click the "Browse" button and ensure your primary Act! database is selected.
- In the "Act! Administrator" field, enter the Act! username of a user with administrative privileges to authorize this link between Handheld Contact and Act!.
Note: This may not be the Act! account of the Handheld Contact end-user you are adding.
- Enter the password (if one is set) for the Act! user with administrative privileges specified in the previous step.
- Click the "Next" button.
-
Select the Act! user you want associate with a Handheld Contact account.
- In the left panel, Click the Act! user who will be using Handheld Contact
- In the Act! User Password field enter the password for the Act! account specified in the previous step.
- Click the "Next" button.
-
Specifiy the Handheld Contact account that should be associated with the Act! user.
- In the "Handheld Contact user name (e-mail address) field, enter the user's Handheld Contact e-mail address used to create their account.
- In the "Handheld Contact Password" field, enter the Handheld Contact password for the user specified in the previous step.
- Click the "Next" button.
Forgot the password to the Handheld Contact account? You can reset it any time.
-
Click the "Next" button to use the default setting and synchronize all available contacts. For better performance on the mobile device, you can select the "Synchronize contacts in groups" option and specify only certain Act! groups to sync contacts from.
-
We recommend following the default "Synchronize Activities" settings for "Scheduled", "Starting", and "Ending" options. Review all Activity Types in the "Types" list and mark the activities your organization uses to enable them in Handheld Contact.
After you have marked your Activity Types, click the "Next" button to continue.

We only recommend customizing these settings to optimize the amount of Act! activities that sync to be a useful amount for the end-user.
-
If you use Act! notes and histories, enable the "Synchronize note/histories" option, optimize the settings for the user if necessary, and click the "Next" button. Otherwise simply leave this disabled and click the "Next" button to continue.

"Most recent" represents the number of combined note and/or history records across all marked types.
-
Click the "Next" button to complete the User Wizard for this user with default field mapping.

Field mapping requirements are unique for every organization. If you need assistance with this please see our knowledge base or contact support.
-
If you use Act! Opportunities, enable the "Synchronize opportunities" option, optimize the settings for the user if necessary, and click the "Next" button. Otherwise simply leave this disabled and click the "Next" button to continue.
-
Click the "Finish" button to complete the User Wizard for this user with default field mapping for Act! opportunities.
Act! Opportunity Field mapping requirements are unique for every organization. If you need assistance with this please see our knowledge base or contact support.
-
In the Handheld Contact user account list click the user you just added so they are active.
-
In the Handheld Contact User Account Info panel (left column) click the "Sync Now" button to initiate the first sync.
This initial sync may take a few moments if the configuration you have set for the Handheld Contact user includes a lot of data to sync.
- Setup on the Act! computer is now complete and you are ready to move on to the next section: Installing on the mobile device.
Please select an installation type to see specific instructions:
Setup: Mobile Device
Installing Handheld Contact on a smartphone or tablet
-
Access the end-user's smartphone or tablet.
For up-to-date requirements and compatibility, see Handheld Contact Requirements.
-
Open the mobile device's native Internet browser.
The native Internet browser is pre-installed on the mobile device. Do not use a third-party Internet browser.
-
Visit the url: handheldcontact.com/ota
The mobile device will be detected and you will be forwarded to your platform's app store or a dedicated Handheld Contact download page. If you are not seeing a download option, please contact the Handheld Contact Support Team.
- Download the Handheld Contact mobile app for the mobile device.
- On the mobile device, run the Handheld Contact mobile app.
- The first time Handheld Contact runs, you will be prompted to sign in with a Handheld Contact account username (e-mail) and password.
The Handheld Contact account you sign in with in this step is the one used during computer setup.
- Setup on the end-user's mobile device is now complete and the user is ready to take Act! mobile with Handheld Contact!
Setup: You're done!
Handheld Contact will sync shortly
Most users complete their initial sync in a few moments. For Handheld Contact accounts that have been configured to include a lot of Act! data, the sync may take longer.
All subsequent syncs will complete quickly.
Questions?
If you have any questions about our feature-rich mobile apps or customizing the computer application, please see our knowledgebase or contact a support representative..